A simple sensory tunnel DIY tutorial. Below you'll find out how to make your own homemade sensory resistance tunnel out of lycra or spandex.
I have always wanted to sew a sensory tunnel since they are so expensive, especially when you consider the fact that they are just a piece of stretchy fabric.
So me being me (and frugal as can be!), I made mine (as well as the two stretchy resistance bands) for only $25.
Another bonus of making a sensory tunnel myself? I could make it any color I wanted. Or rather any color the kids wanted. Okay, let's be honest, any color that was on the clearance racks haha
But seriously, even if you don't think you can sew, you can easily managing making this DIY sensory tunnel.
DIY Autism Sensory Tunnel: What You'll Need
To make a homemade sensory resistance tunnel of your own, you will need:
- Spandex in the color of your choice - 3 meters long (or approximately 3 yards long) - J picked bright yellow, which is fun, but totally hard to photograph as I discovered...
- Sewing machine
- Scissors
How to Make a Homemade Lycra Sensory Tunnel
The spandex was a bit too wide to make a good sensory resistance tunnel. So I cut the fabric in a way that it ended up being about 45 inches wide. I intentionally made my tunnel a bit roomy so that it would grow with the boys and also fit an exercise ball through.
1. Cut your fabric so that it's about 3 meters long x 45 inches wide.
2. Fold the fabric in half so that it makes a long rectangle (like pictured below).
3. Use a zigzag stitch to sew the ends of the spandex together. Don't forget to backstitch at the start and the finish. Now the sewing part is relatively easy and straightforward, but it is a lot of fabric to get through the machine - just as a FYI.
And that's it! Easy, right?!
Ways to Use the Homemade Sensory Resistance Tunnel
The best part about this sensory tunnel is that it is versatile. We use it for so many different activities.
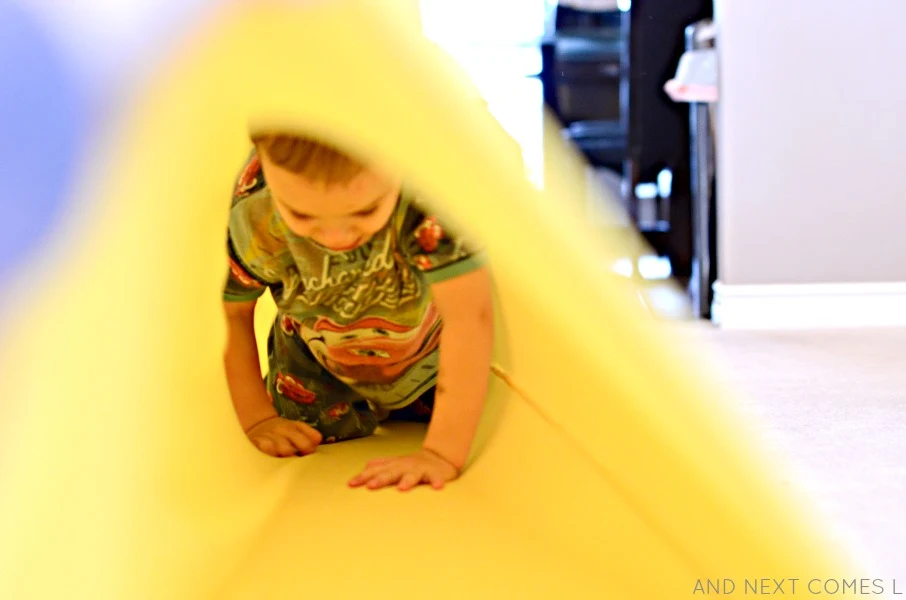
Obviously we use it as a tunnel, like below, but sometimes I get the boys to crawl through the tunnel while pushing an exercise ball. It's a great heavy work activity!
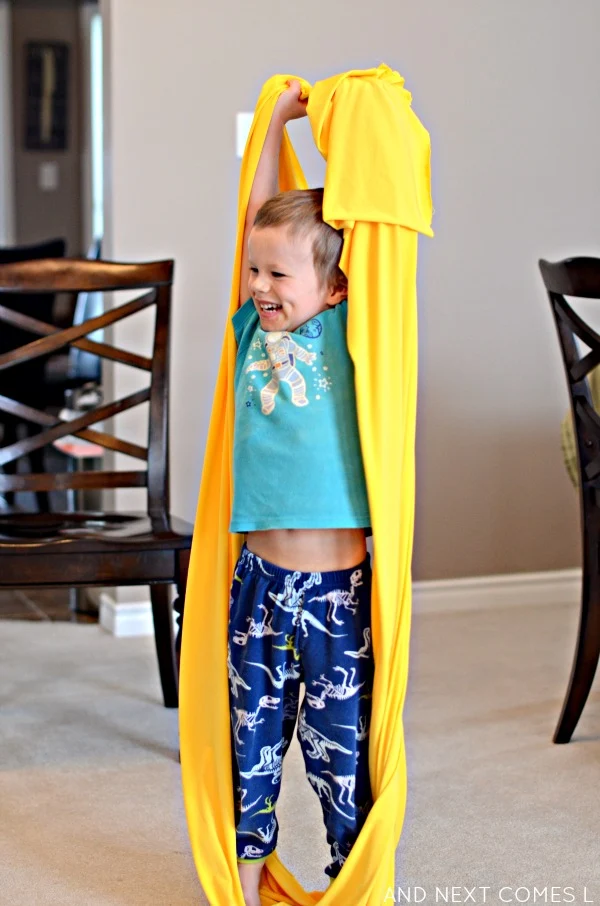
We also use it like stretchy resistance bands. Simply stand in the middle of the sensory tunnel, grab each end with your hands, and stretch! Here's J demonstrating:
The sensory tunnel also doubles as a body sock like this sensory sock. Just climb on in and start making shapes.
Or play peek-a-boo.
Seriously...how darn cute is this?!
K also likes to wrap himself up like a mummy and walk around. Banana man returns (see reference)! And sometimes the boys will climb into different ends to make a double body sock.
We also use our homemade sensory tunnel as a toy trampoline, which was an idea that I got from the book Motivate to Communicate: 300 Games & Activities for Your Child with Autism. The boys grab some stuffed animals, grab the ends of the tunnel, and shake it like a parachute.
We also like to use it as a sensory swing. My husband and I just grab each end of the tunnel, pick it up, and gently swing it back and forth. Sometimes, if I'm feeling like a good workout, I grab both ends myself so that the boys have to curl their body into a V shape and spin them around for a bit. J particularly loves doing that!
And finally, here are some other suggestions:
- Play tug of war. Two people grab opposite ends of the sensory tunnel and pull back and forth
- Create a high jump or limbo bar with it. Two people hold each end, lower and raise it, while encouraging the kids to jump over, crawl under, roll under, etc. It's a great way to work on the words "over" and "under."
- If you have a smooth soft surface like some tumbling gymnastic mats, then you can have your child climb into the sensory tunnel or lay on top, then pull them across the mats. It's sort of like riding a magic carpet!


