DIY parachutes are totally something you can make on your own. Here's how to make a homemade parachute for kids using dollar store shower curtains.
I think I'm rather genius for making this homemade parachute, especially since it's a fraction of the price of a store-bought one. I ended up making it for only $6 using shower curtains found at the dollar store.
Yes, $6!!
Yes, $6!!
The inspiration came to me a few months ago...we have a shower curtain that we use as a splat mat for K when we eat in the dining room as we have light colored carpet in there (who puts white carpet in a dining room in the first place??). I was attempting to fold the shower curtain when K started lifting it and wiggling it. So I started moving it up and down like a parachute. He thought it was awesome and couldn't stop laughing. And that's when I had my aha moment!
I wondered...could I make a big play parachute out of shower curtains?
Obviously the answer is yes!
Here's the tutorial for how to sew a parachute out of dollar store shower curtains.
I wondered...could I make a big play parachute out of shower curtains?
Obviously the answer is yes!
Here's the tutorial for how to sew a parachute out of dollar store shower curtains.
Homemade Parachute: What You'll Need
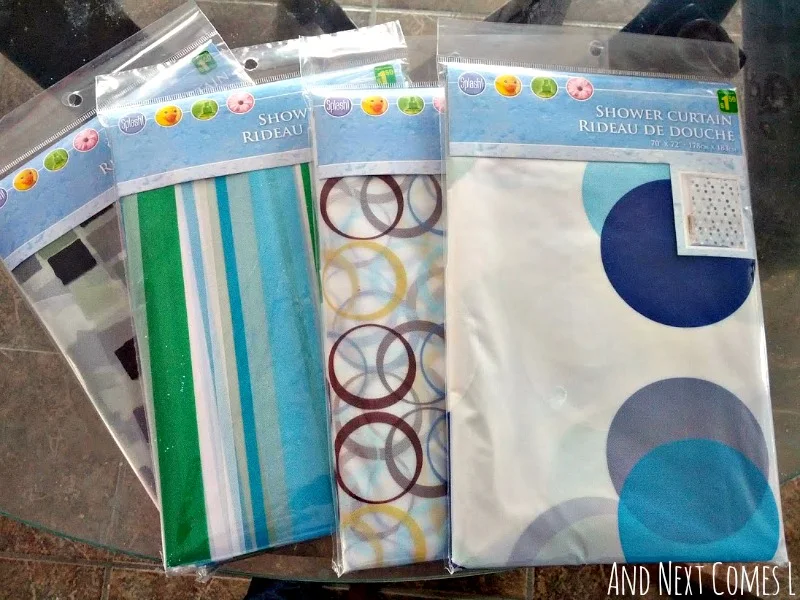
The overall cost for this DIY parachute is pretty low considering I used materials from the dollar store to make it happen. As I mentioned above, I only spent $6 on materials.It's also rather large. This tutorial will help you make a parachute that is roughly 10' in diameter.
Here's what I used to make this homemade play parachute:
- 4 shower curtains (not fabric ones) - I paid $1.50 for each one.
- Scissors
- Sewing machine
- Thread in a coordinating color
Tutorial: How to Make a Big Play Parachute for Kids
I should mention that I am terrible at taking photos while I make any project so I do not have pictures for every step in the tutorial. So hopefully I can describe the process clearly enough.
It took me about 2 hours to make the entire parachute.
Step 1: Find the top of the shower curtain where the curtain hooks would go. Cut that part off. Repeat for all four shower curtains.
Step 2: Lay the shower curtain on the floor and fold diagonally (i.e., match top left corner with bottom right). Cut along the fold. Repeat for all four shower curtains. You should end up with eight pieces.
Step 3: Lay out all the pieces on the floor (or outside if you need more space). Be sure to organize it in the order that you want the final parachute to be. When all the pieces are laid out, it should form a rectangle.
Step 4: Pick two neighboring pieces to start with. Sew the right sides together. I used a 4/8" seam allowance. Well, I tried to...I don't always sew straight.
Step 5: Find the next piece and sew right sides together. Repeat until all eight pieces have been sewn together. It should form the large rectangle that you had laid out back in step 3. It was at this point that I realized that my crazy idea was actually working out!
Step 6: (Optional) Fold the rectangle until it forms a large diamond, with the center of the parachute at the top. Try to flatten the material as best as you can. Cut the top of the diamond in a semi-circle shape.
Step 7: (Optional, but necessary if you decided to do step 6) Unfold the diamond so that you return to your rectangular parachute. There should now be a circle in the middle of the parachute. Sew a hem along this inner circle.
Step 8: Cut your entire parachute into a circle. This step took a few practice cuts on a piece of folded paper before I figured out the easiest way to cut the parachute. I didn't want to screw it up, so that's why I practiced with paper first. I suggest you do the same. Or lay the parachute out fully and cut it in a circle that way. Do whatever is easiest.
Step 9: Hem the outer edge of the parachute. I made a really huge hem so that the kids would have a better spot to hang onto when playing with the parachute.
Step 10: (Optional) Make handles using the scraps and sew them onto the parachute. I didn't make handles (too lazy!) and the kids have had no problem hanging onto the parachute so that's why this step is optional.
That's it! You did it. You made a big play parachute!
We can play with it in our basement (which will be perfect for rainy days and cold winter days), but I can't wait to use it outdoors. Now if only the snow would go away...
I tried numerous times to take a picture of the parachute in action, but the kids ended up all blurry and I had to help hang onto the parachute. Regardless, here are a few pictures to show you what it looks like.
Here is how large the parachute is in comparison with an 18 month old toddler.
Step 9: Hem the outer edge of the parachute. I made a really huge hem so that the kids would have a better spot to hang onto when playing with the parachute.
Step 10: (Optional) Make handles using the scraps and sew them onto the parachute. I didn't make handles (too lazy!) and the kids have had no problem hanging onto the parachute so that's why this step is optional.
That's it! You did it. You made a big play parachute!
DIY Parachute: The Finished Result!
The parachute ended up being approximately 10 feet in diameter, so it is quite large.We can play with it in our basement (which will be perfect for rainy days and cold winter days), but I can't wait to use it outdoors. Now if only the snow would go away...
I tried numerous times to take a picture of the parachute in action, but the kids ended up all blurry and I had to help hang onto the parachute. Regardless, here are a few pictures to show you what it looks like.
Here is how large the parachute is in comparison with an 18 month old toddler.
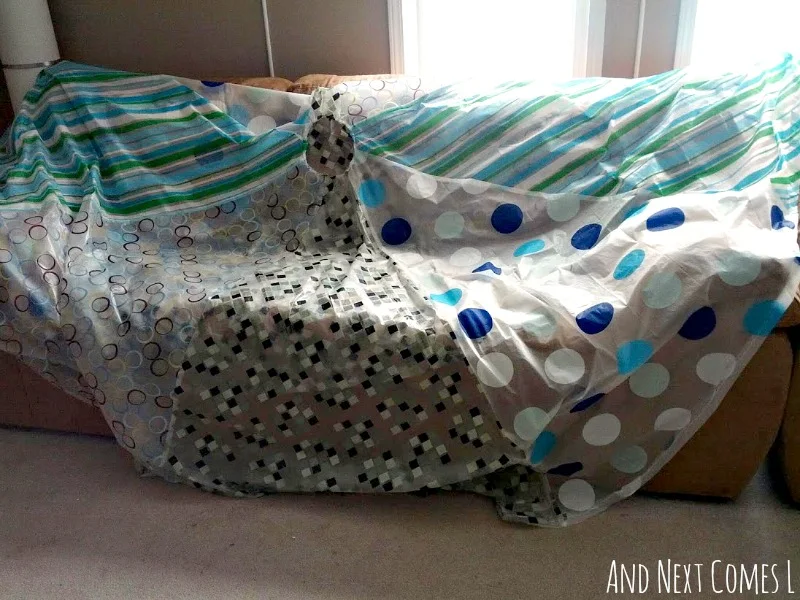
Here's the parachute, folded in half, laying on my couch.
Final Thoughts on this DIY Parachute
I love how well this parachute turned out. It's so bright and cheery!And the fact that it's translucent is a bonus because I can always tell where a child is underneath it.
It's also homemade and inexpensive, which are two more reasons to love it.
**DISCLAIMER: Never leave your child unattended with the parachute. It's essentially a gigantic plastic bag.**


