Showing posts with label Open-Ended Toys. Show all posts

Friday, June 26, 2020

How to Make a Big Homemade Parachute for Kids

DIY parachutes are totally something you can make on your own. Here's how to make a homemade parachute for kids using dollar store shower curtains.

I think I'm rather genius for making this homemade parachute, especially since it's a fraction of the price of a store-bought one. I ended up making it for only $6 using shower curtains found at the dollar store.

Yes, $6!!

The inspiration came to me a few months ago...we have a shower curtain that we use as a splat mat for K when we eat in the dining room as we have light colored carpet in there (who puts white carpet in a dining room in the first place??). I was attempting to fold the shower curtain when K started lifting it and wiggling it. So I started moving it up and down like a parachute. He thought it was awesome and couldn't stop laughing. And that's when I had my aha moment!

I wondered...could I make a big play parachute out of shower curtains?

Obviously the answer is yes!

Here's the tutorial for how to sew a parachute out of dollar store shower curtains.

Tutorial for how to sew a parachute that's roughly 10' in diameter


Homemade Parachute: What You'll Need

The overall cost for this DIY parachute is pretty low considering I used materials from the dollar store to make it happen. As I mentioned above, I only spent $6 on materials.

It's also rather large. This tutorial will help you make a parachute that is roughly 10' in diameter.

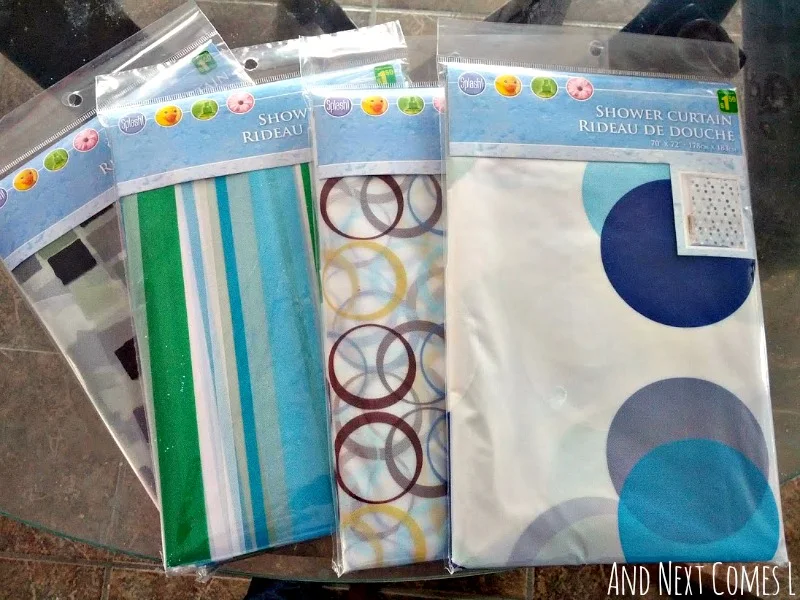
Here's what I used to make this homemade play parachute:

  • 4 shower curtains (not fabric ones) - I paid $1.50 for each one.
  • Scissors
  • Sewing machine
  • Thread in a coordinating color

Supplies for how to make a homemade parachute

Tutorial: How to Make a Big Play Parachute for Kids

I should mention that I am terrible at taking photos while I make any project so I do not have pictures for every step in the tutorial. So hopefully I can describe the process clearly enough.

It took me about 2 hours to make the entire parachute.

Step 1: Find the top of the shower curtain where the curtain hooks would go.  Cut that part off.  Repeat for all four shower curtains.

Step 2: Lay the shower curtain on the floor and fold diagonally (i.e., match top left corner with bottom right).  Cut along the fold.  Repeat for all four shower curtains.  You should end up with eight pieces.

Step 3: Lay out all the pieces on the floor (or outside if you need more space).  Be sure to organize it in the order that you want the final parachute to be.  When all the pieces are laid out, it should form a rectangle.

Step 4: Pick two neighboring pieces to start with.  Sew the right sides together.  I used a 4/8" seam allowance.  Well, I tried to...I don't always sew straight.

Sewing a big DIY parachute

Step 5: Find the next piece and sew right sides together.  Repeat until all eight pieces have been sewn together.  It should form the large rectangle that you had laid out back in step 3.  It was at this point that I realized that my crazy idea was actually working out!

Making a DIY parachute for kids

Step 6: (Optional) Fold the rectangle until it forms a large diamond, with the center of the parachute at the top.  Try to flatten the material as best as you can.  Cut the top of the diamond in a semi-circle shape.

Homemade parachute tutorial

How to make a play parachute for kids

Step 7: (Optional, but necessary if you decided to do step 6) Unfold the diamond so that you return to your rectangular parachute.  There should now be a circle in the middle of the parachute.  Sew a hem along this inner circle.

How to make a play parachute

Step 8: Cut your entire parachute into a circle.  This step took a few practice cuts on a piece of folded paper before I figured out the easiest way to cut the parachute.  I didn't want to screw it up, so that's why I practiced with paper first.  I suggest you do the same.  Or lay the parachute out fully and cut it in a circle that way.  Do whatever is easiest.

Step 9: Hem the outer edge of the parachute.  I made a really huge hem so that the kids would have a better spot to hang onto when playing with the parachute.

Step 10: (Optional) Make handles using the scraps and sew them onto the parachute.  I didn't make handles (too lazy!) and the kids have had no problem hanging onto the parachute so that's why this step is optional.

That's it! You did it. You made a big play parachute!

A DIY parachute that's 10' in diameter

DIY Parachute: The Finished Result!

The parachute ended up being approximately 10 feet in diameter, so it is quite large.

We can play with it in our basement (which will be perfect for rainy days and cold winter days), but I can't wait to use it outdoors. Now if only the snow would go away...

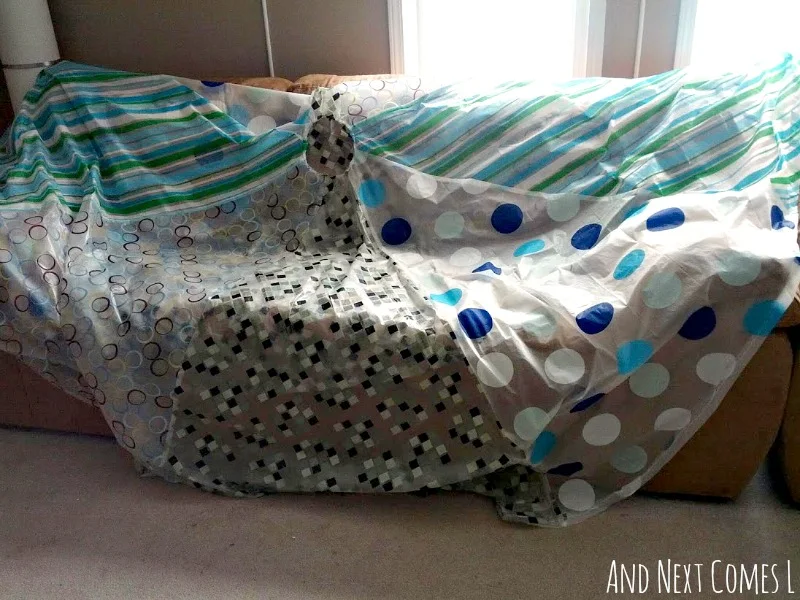
I tried numerous times to take a picture of the parachute in action, but the kids ended up all blurry and I had to help hang onto the parachute. Regardless, here are a few pictures to show you what it looks like.

Here is how large the parachute is in comparison with an 18 month old toddler.

A homemade play parachute for kids - a DIY tutorial

Here's the parachute, folded in half, laying on my couch.

A homemade play parachute for kids - a DIY tutorial

Final Thoughts on this DIY Parachute

I love how well this parachute turned out. It's so bright and cheery!

And the fact that it's translucent is a bonus because I can always tell where a child is underneath it.

It's also homemade and inexpensive, which are two more reasons to love it.

**DISCLAIMER: Never leave your child unattended with the parachute.  It's essentially a gigantic plastic bag.**

Other DIY Sensory Tools & Autism Hacks You'll Love

DIY Mario Climbing Wall


Continue reading "How to Make a Big Homemade Parachute for Kids"

Thursday, February 07, 2019

DIY Color Blocks for Kids

Tutorial for how to make your own set of DIY color blocks for light play. A video tutorial is included.

My kids enjoy playing with light, whether it's exploring natural light or mirrors or playing with our DIY light table.

So oftentimes, I find myself creating homemade materials to aide them in their curiousness of light play.

These DIY color blocks are just one of the many homemade light table toys that I have made. At just a fraction of the cost, these color blocks can be made in just a few minutes with simple materials from the dollar store.

They're so pretty and way cheaper than the store bought versions.

Tutorial for making DIY homemade color blocks for light play

About Our Homemade Color Blocks for Light Play

I have always admired color blocks.  I think they are gorgeous on light tables and overhead projectors, but even more beautiful in natural light.  I just don't like the price tag that goes along with them.  Sure, color blocks aren't all that expensive, but when you think about what they are actually made of, I figured I could make something similar for much cheaper.

And I did!

My price tag: $3.00.

DIY color blocks tutorial - made from dollar store items for only $3 from And Next Comes L

Only three dollars?!  Well, actually I could have done it for $1.50 if I had bought my supplies at the dollar store versus the liquidation center.  Next time...darn it...next time!

Tutorial for How to Make DIY Color Blocks from Dollar Store Wooden Blocks

To make these blocks, you will need a game of wooden tumbling towers (aka Jenga).  Mine were $3.00, but like I said, I found them cheaper at the dollar store.

You will also need some colorful translucent duotangs or transparencies (also found at the dollar store).  I used the leftover transparencies from my homemade light table manipulatives.

Then grab some scissors and your hot glue gun.  I promise these are really easy to make.

To make one block, you will need eight wood blocks from the tumbling towers "jenga" game and a piece of colored transparency.

1. Arrange four blocks into a square shape and hot glue gun it together so that it looks like a picture frame.

2. Cut a piece of transparency so that it's big enough to cover the middle of the "picture frame."

3. Lightly glue the transparency into place, just so that it won't move on you.

4. Then create another picture frame shape with the remaining four blocks.

5. Hot glue it onto the picture frame with the transparency on it.  I didn't take pictures along the way, but you can always watch the accompanying video tutorial for an overview of how to assemble the blocks.


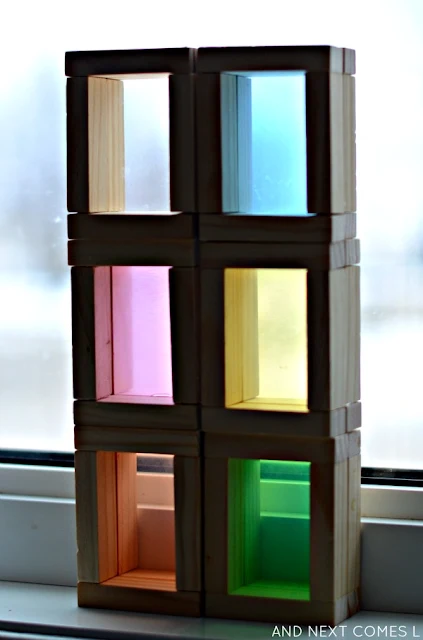
Repeat multiple times, using a different colored transparency for each block.  I ended up with six blocks in each of the following colors: orange, yellow, clear, green, blue, and purple.

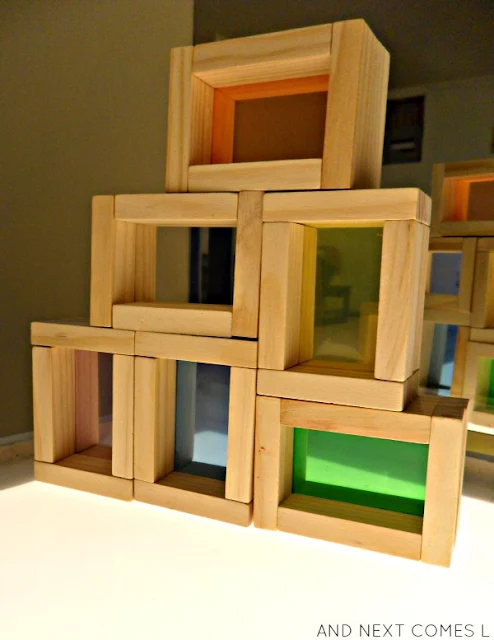
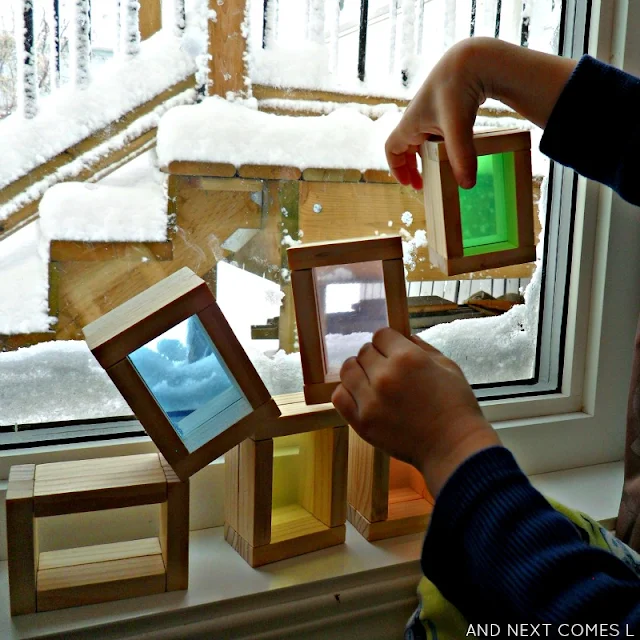
Stacking DIY color blocks in natural light from And Next Comes L

Playing with our Homemade Color Blocks for Kids

The only downside (or limitation) to my homemade version of the color blocks is that I could only make little rectangles or squares.  No semi-circles or triangles for me, but I'm okay with that because I love how mine turned out.  And more importantly, the boys love them!

They work great on the light table.

Tutorial for making DIY color blocks for light table play from And Next Comes L

Tutorial for making DIY color blocks for light table play from And Next Comes L

They would also work great with the overhead projector, but I think I love them the most in natural light. Seriously, look at how wonderful they look in front of a window.  Gorgeous!

DIY color blocks tutorial - made from dollar store items for only $3 from And Next Comes L

Stacking DIY color blocks in natural light from And Next Comes L

Stacking DIY color blocks in natural light from And Next Comes L

And that's it!  Simple, frugal, and fabulous!

Other Ideas You'll Love


Tutorial for making DIY homemade color blocks for light play
Continue reading "DIY Color Blocks for Kids"

Wednesday, November 05, 2014

7 Reasons Why Magna-Tiles are a Must-Own Toy! {Kids Holiday Wishlist: Reviewed!}

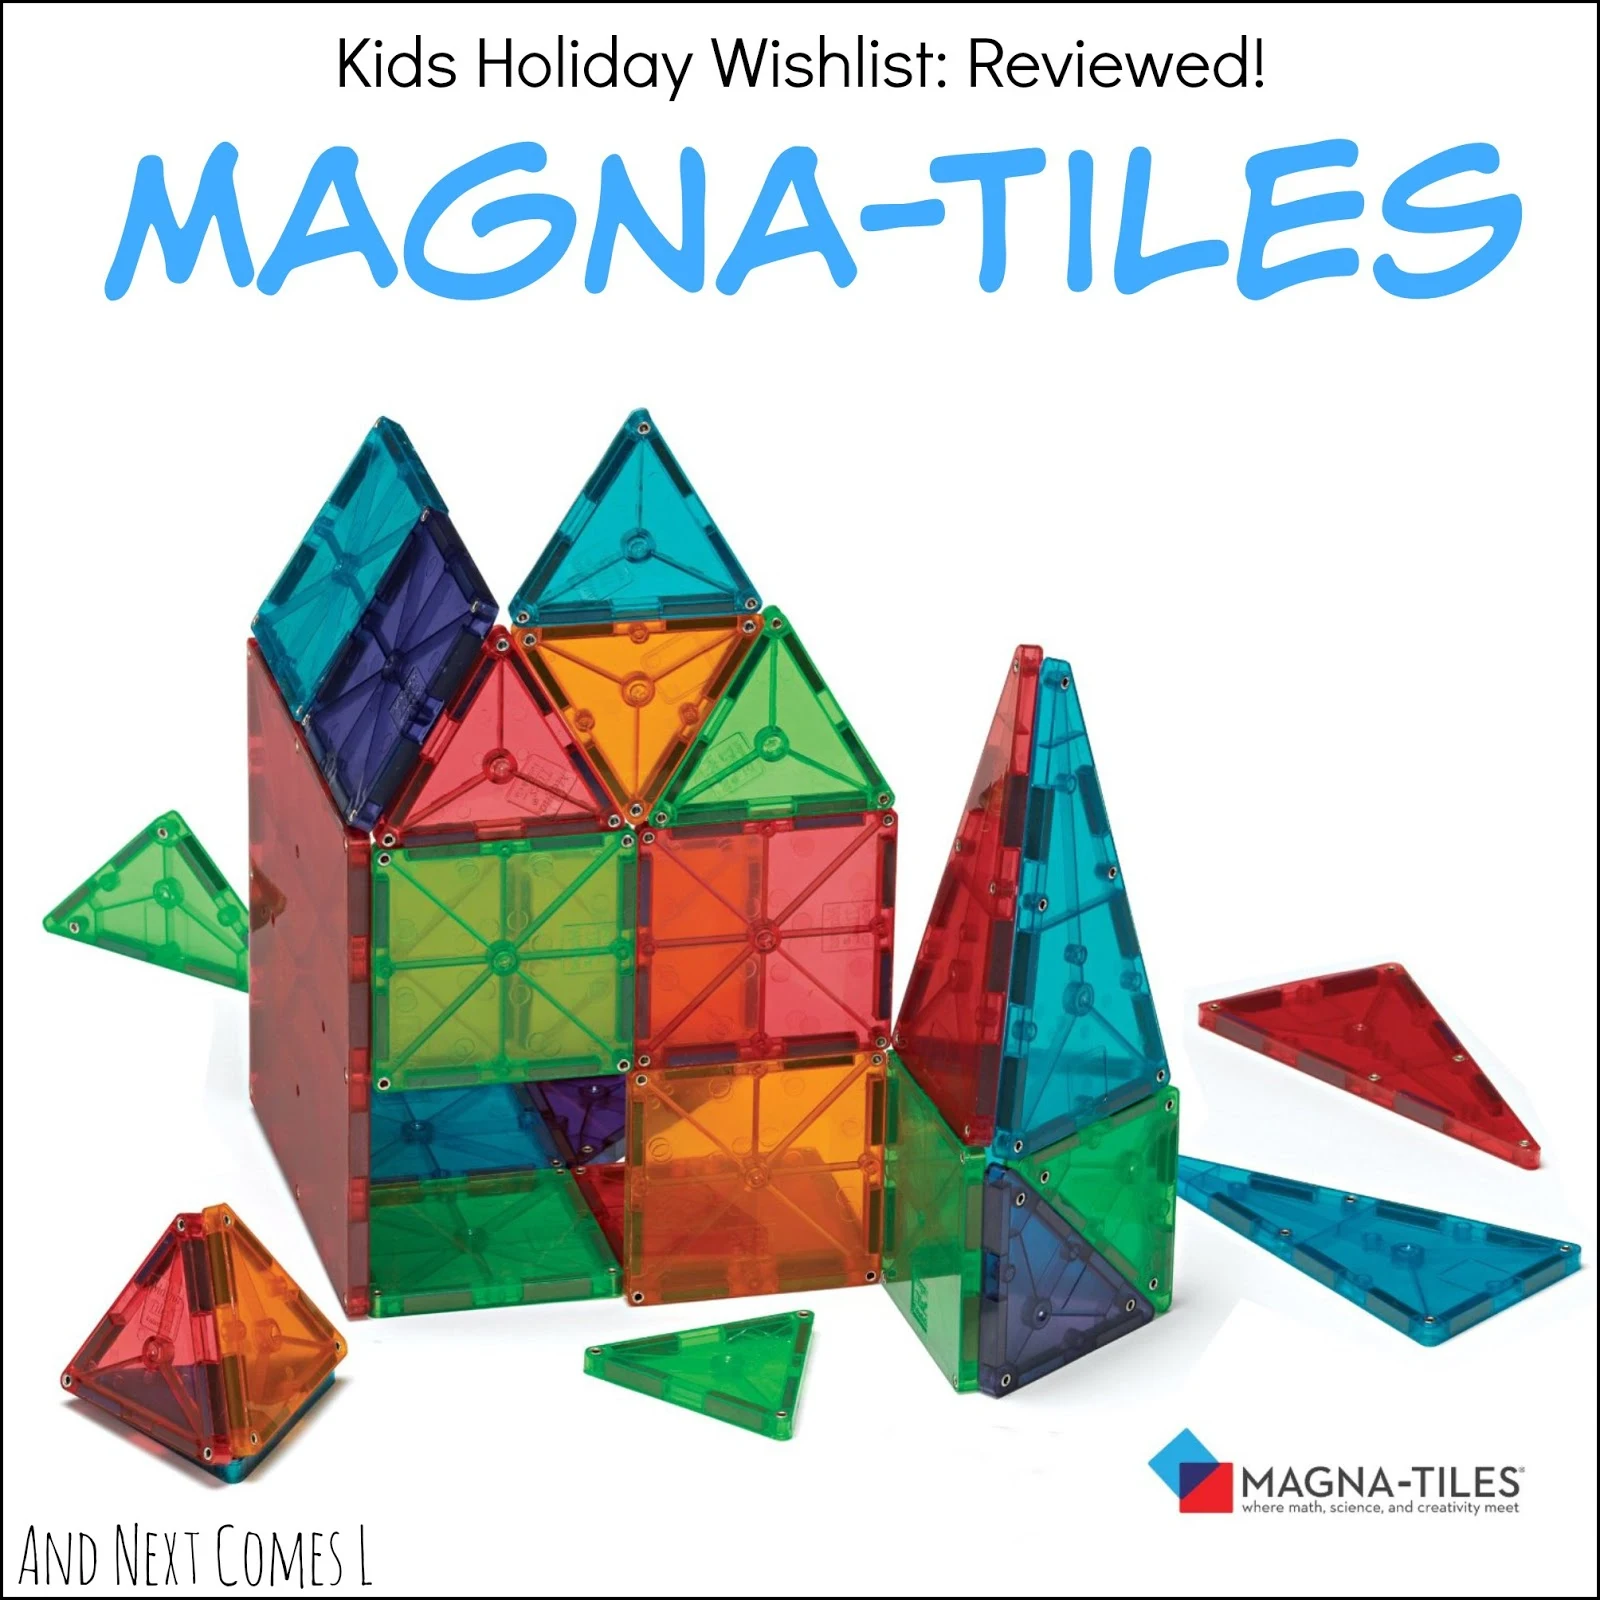
Last Christmas, Magna-Tiles were on our wish list. I knew they would make a fabulous addition to our light table collection. Then one day, I splurged and we haven't looked back. Since the moment we first opened the box, the kids fell in love with them. Magna-Tiles have since been a favorite toy for both of my boys (and for many of my piano students' siblings!). So here are 7 reasons why we love Magna-Tiles and why I think every kid should own a set

Reasons why we love Magna-Tiles from And Next Comes L

This post contains affiliate links. 


7 Reasons Why Magna-Tiles are a Must-Own Toy!

I know I have raved about how much my boys love the Magna-Tiles before, but if you need further convincing why you must own this building set, then here are my top seven reasons why you and your kids need them.


1. Magna-Tiles make a great addition to light table play. 

The clear colors set is ideal for light table play. I mean look...

How Magna-Tiles clear colors set look on the light table from And Next Comes L

Ooooh-aaaah! So pretty, right? So whether you have a small light panel, a DIY light box, or a large light table, your kids will definitely enjoy how the Magna-Tiles look when the light shines through. Layer a couple Magna-Tiles and you can explore color mixing too! Don't have a light table? Well, they look fabulous in natural light too!


2. Magna-Tiles are open-ended and versatile. 

The possibilities are endless when it comes to building with Magna-Tiles. From a giant, colorful soccer field for figurines to tin can and Magna-Tiles rockets to houses and 3D shapes, my boys never seem to run out of creative ways to build with them. Recently, three year old K has been building fancy garages out of the Magna-Tiles so that he would have somewhere to park his cars.


3. Magna-Tiles are great for kids of multiple ages. 

My boys are currently three and five and both enjoy building with them. Kids aside, I also enjoy playing with Magna-Tiles. They are just plain fun! I usually set out Magna-Tiles for the boys to play with while I'm teaching piano. Oftentimes, I catch some of the parents and their other children playing with them too. Magna-Tiles are irresistible to little and big hands.


4. Magna-Tiles are super easy to store. 

When we need to store the Magna-Tiles, which is rare, or transport them from room to room, we store our Magna-Tiles in a clear tote. We own the 100 piece set and it all fits in this one bin (pictured below). Since the Magna-Tiles are magnetic, you can stack and store them quite easily. They don't take up much room at all. And please disregard my model's extra dirty clothes...he was coloring furiously with chalk just before I asked him to do some modeling. I may or may not have been fending off an angry three year old as well. Why was he angry, you ask? Because I packed up his Magna-Tiles to transport them upstairs. True story.

Magna-Tiles are so easy to store! Just one of many reasons why we love Magna-Tiles from And Next Comes L


5. Magna-Tiles are durable. 

The boys love to build tall towers and destroy them. That means that oftentimes, Magna-Tiles come crashing down onto hard surfaces. Many months in and we've yet to break, scratch, or dent a Magna-Tile. Knock on wood. I hope to keep it that way!


6. There are no tiny pieces. 

My kids like building with blocks and LEGO and such, but they have tiny pieces. Tiny pieces that hurt when you step on them. Tiny pieces that easily get lost. Tiny pieces that easily (and quite accidentally) get eaten (a LEGO eye may have recently been consumed by a child in my house). That is not a problem with Magna-Tiles. They don't hurt to step on, trust me, which also supports reason number five.


7. Magna-Tiles are easy to build with. 

I remember both of my boys being frustrated by certain types of building sets because the pieces wouldn't hold their place or the pieces were difficult to take apart. Since Magna-Tiles are magnetic, the pieces just simply stick together, making them great for little toddler hands or kids with fine motor difficulties. Plus, playing with magnets is just plain old fun!


So now that I have convinced you of their awesomeness, here's where you can purchase them:


Other Ideas You'll Love


This review is part of the Kid's Holiday Wishlist: Reviewed! series. You can read about all the other great products by perusing the full wishlist here.
Kid's Holiday Wishlist: Reviewed! series image at And Next Comes L
Continue reading "7 Reasons Why Magna-Tiles are a Must-Own Toy! {Kids Holiday Wishlist: Reviewed!}"

Tuesday, April 15, 2014

Recycled Building Blocks with Washi Tape

This post contains affiliate links for your convenience.

Do you like washi tape?  Do you like hoarding cardboard recycling?  Do you also enjoy making homemade toys for kids?  If you answered yes, yes, and yes again, well, then you are in luck!  I just happen to have the perfect solution to your washi tape and cardboard hoarding addictions!

These recycled building blocks are so simple to make.  They happened to be an enjoyable craft for my boys as well.  Mind you, anything that involves tape or scissors is always a guaranteed hit.

Make your own set of building blocks using recyclables and washi tape from And Next Comes L

Want to make a set for your kids?  Get all the details over on B-Inspired Mama.
Continue reading "Recycled Building Blocks with Washi Tape"

Saturday, March 01, 2014

10 Sensory Bins and Small Worlds that Encourage Imaginative Play

One of the staples in our playroom for encouraging imaginative and open-ended play is our ever-growing collection of Safari Ltd. TOOBS.  The detail on the figures are unbelievable, but I especially appreciate that each figure has its name written on it.  So I no longer have to guess the names of specific dinosaurs or fish or frogs when questioned by the kids.  Plus, the boys love playing with them.

So here are ten ways to play and learn using Safari Ltd. TOOBS!

10 sensory bins and small worlds that encourage imaginative play {Plus, Safari TOOBS Giveaway!} from And Next Comes L

1. Arctic Small World Sensory Bin - Blue water beads, ice, real snow, and the Arctic TOOB make this small world sensory bin chilly and so much fun.

Arctic small world sensory bin from And Next Comes L

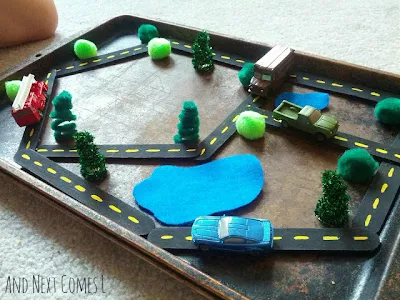
2. Magnetic Roads - This busy bag activity is perfect for pairing with the On the Road TOOB!  And since it's portable, you could easily take it on the road with you.

Magnetic roads busy bag from And Next Comes L

3. Felt Castle Play Tote with Knights and Dragons - Here's another great portable activity.  And it's a perfect castle to pair with the Knights and Dragon TOOB.

Knights and dragons figures on the felt castle play tote from And Next Comes L

4. Music Sensory Bin - Inspired by the keys of a piano, I put together this sensory bin for the boys to learn about musical instruments.  The Musical Instruments TOOB worked perfectly in this bin!

Music sensory bin from And Next Comes L

5. Frog Pond Small World on the Light Table - My boys adored this small world on the light table.  They had the frogs from the Frogs and Turtles TOOB hopping around like crazy!

Create a frog pond small world on the light table to encourage imaginative play from And Next Comes L

6. Dinosaur Dig Sensory Bin - The boys loved getting messy with this fossil dig sensory bin and loved looking at the skulls from the Dinosaur Skulls TOOB.

Dinosaur dig sensory bin for kids from And Next Comes L

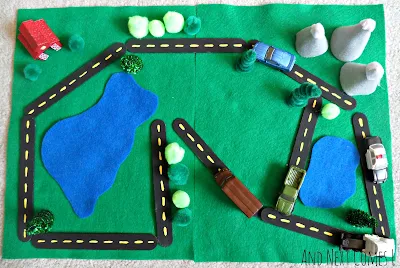
7. No Sew Portable Road Play Set - Here's another one of my favorite busy bags.  It works great with the On the Road TOOB, but I also used the barn from the Down on the Farm TOOB.

No sew portable road play set busy bag from And Next Comes L

8. Bugs by the Numbers Sensory Bin - Learn about bugs and numbers with this book-inspired sensory bin.  Using the Insects TOOB in this sensory bin was a great way to learn about insects.

A sensory bin for kids inspired by the book Bugs by the Numbers from And Next Comes L

9. Medieval Sensory Bin - This medieval sensory bin was so much fun to create!  J especially loved dragging the dragon from the Knights and Dragon TOOB through the "dirt."

Medieval sensory bin for kids from And Next Comes L

10. Arctic Small World on the Light Table - I promise that this small world only takes a minute or two to set up!  Especially if you already have the Arctic TOOB on hand!

Arctic small world on the light table from And Next Comes L
Continue reading "10 Sensory Bins and Small Worlds that Encourage Imaginative Play"

Wednesday, January 15, 2014

DIY Road Table With Homemade Wooden Trees

I wanted our light table to become a creative hub for the boys, hoping to spark hours and hours of play.  The light table itself gets used for hours a day, but it's always nice to change things up.  So now our light table is now equipped with some interchangeable tabletops, including this homemade light bright tabletop.  Of course, I didn't stop there.  I just had to make a road map for the boys to drive their cars on.

DIY road table with homemade wooden trees from And Next Comes L

This post contains affiliate links for your convenience.

This road tabletop is also made from 1/4" thick hardboard.  I drew the roads by tracing the width of a level, but you could certainly use whatever you had on hand.  Once I drew my rough road map in pencil, I started painting it with acrylic paint.  After the paint dried, I applied two coats of Mod Podge to seal and protect the roads from future damage.  I finished this project in an afternoon so it is a pretty simple and straightforward project.  And the end result is fabulous!

DIY road table from And Next Comes L

Closeup of DIY road table from And Next Comes L

Of course, a road table needs accessories, like the plastic grass we used as part of the frog pond small world.

Grass on DIY road table from And Next Comes L

But wait.  It needs trees!  I found this DIY Forest tutorial from Inspired by Charm on Pinterest shortly before Christmas and just knew that I had to make a set for the boys to play with.  I chose to stick with earth tones - think shades of green and brown.  They were ridiculously easy to make and the boys love them.  They will be a great addition to all sorts of small world play.

Homemade wooden trees for DIY road table or small world play from And Next Comes L

Homemade wooden trees for DIY road table or small world play from And Next Comes L

Homemade wooden trees for DIY road table or small world play from And Next Comes L

Of course, any good road map will need some cars for driving with, but what about some houses?  No problem!  J built some little houses for our town using our colorful Melissa & Doug wood blocks.  They work great, but I do have plans for some future accessories for this tabletop...just saying.

Block houses and cars on DIY road table from And Next Comes L

Block houses, cars, and homemade wooden trees on DIY road table from And Next Comes L

Since this tabletop fits on top of our light table, I can just remove it when we want to do some light play.  And since this tabletop is only 1/4" thick, I can easily store it under our couch in the playroom.

Be sure to check out the other interchangeable tabletops for our light table:


DIY road table with homemade wooden trees from And Next Comes L
Continue reading "DIY Road Table With Homemade Wooden Trees"

Monday, December 30, 2013

Loose Parts on the Light Table

I love setting up simple invitations for the boys on the light table using just loose parts.  It's simply fascinating to watch how they transform a set of objects into something creative and often, unexpected.  I also see their personalities come to life when they explore with loose parts.  I love to just sit back and watch them explore and learn.  Okay, I may also be taking pictures, but that's usually only for a short period of time...then I just sit and observe.  Then I capture beautiful moments of sibling bonding like this.

Exploring with loose parts on the light table from And Next Comes L

This post contains affiliate links.

Light Table Activity for Kids: Exploring with Loose Parts

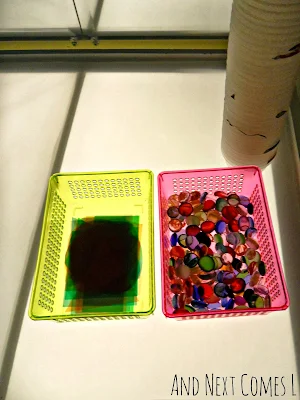
On this particular day, I set out the following objects: clear plastic cups (they're individual sized applesauce containers from our recycling stash), various colored glass stones, and our homemade colored transparent shapes.

Loose parts on the light table from And Next Comes L

The materials can easily be stacked and layered, allowing the clear cups to light up with different colors.

Clear cups and colored transparencies on the light table from And Next Comes L

Clear cups and colored transparencies on the light table from And Next Comes L

Stacking clear cups on the light table from And Next Comes L

Loose parts exploration on the light table from And Next Comes L

Or perhaps the materials will be used to create faces, like J did.

Using loose parts on the light table to make faces from And Next Comes L

Or if you are K, you will do some "cooking."  And one must simply sample the "food" when cooking.

K exploring loose parts on the light table from And Next Comes L

The boys also used the materials to build colorful towers like this...

Building colorful towers with loose parts on the light table from And Next Comes L

The boys also counted, sorted, scooped, and poured the glass stones, but really the possibilities for play are endless.  That's the beauty of loose parts play.

Other Ideas You'll Love


Exploring with loose parts on the light table from And Next Comes L
Continue reading "Loose Parts on the Light Table"