We've been redoing our play room ever since we built the light table, including a toy purge that was long overdue. So we ended up with a bit of a blank space on one wall and I was looking for something to put there. I decided that it would be a great space for a large sensory board of some kind, but I just didn't know what.
Then inspiration struck.
I decided to make this car themed sensory board for kids by upcycling various items from around our house.
This post contains affiliate links.
The Inspiration for our DIY Sensory Board
It started with a hideously faded yellow plastic steering wheel similar to this one.
A neighbor down the street from us was cleaning up their backyard toys, giving a bunch away for free. Among the toys for free were some swings and a steering wheel that were previously part of a play structure. As soon as I saw the steering wheel, I wanted to mount it in the playroom, which, ultimately, led me to come up with this car dashboard sensory board.
As a side note, we also took the swings (one of which hangs in our basement and the others outside on the play structure our other neighbor lent to us).
How to Make a Car Themed Sensory Board for Kids
This project wasn't overly time consuming nor did it cost us a lot of money. I paid $2.25 for the two round tap lights, $1 for the mirror, approximately $2-3 on hardware like nuts, and $5 on a can of glossy black spray paint. Everything else used for this project was either upcycled from something else or we already had it on hand.
The main board was part of the same entertainment center that we built our light table from. We didn't have to cut it as it was already the perfect length. Score!
We (and by we, I mean my wonderful husband) used a jigsaw to cut the gear shift section (pictures below). After making those cuts, he painted the entire board, as well as a smaller piece of wood and a wood handle, white using the paint we had leftover from our light table.
He also spray painted the steering wheel black. Then it was time for assembly!
The center of the sensory board features a gear shift and a stereo. A couple of years ago we installed a new CD player in our car, so we attached our old one to the sensory board. The boys love that they get to play with real buttons!
The knob for the gear shift is from an old elliptical machine that broke a few years ago. It is attached with a nut and some washers and slides easily through the slots that my husband cut. The numbers on the gear shift are cut from black vinyl using my Silhouette Cameo (PS: that thing is awesome!).
The knob for the gear shift is from an old elliptical machine that broke a few years ago. It is attached with a nut and some washers and slides easily through the slots that my husband cut. The numbers on the gear shift are cut from black vinyl using my Silhouette Cameo (PS: that thing is awesome!).
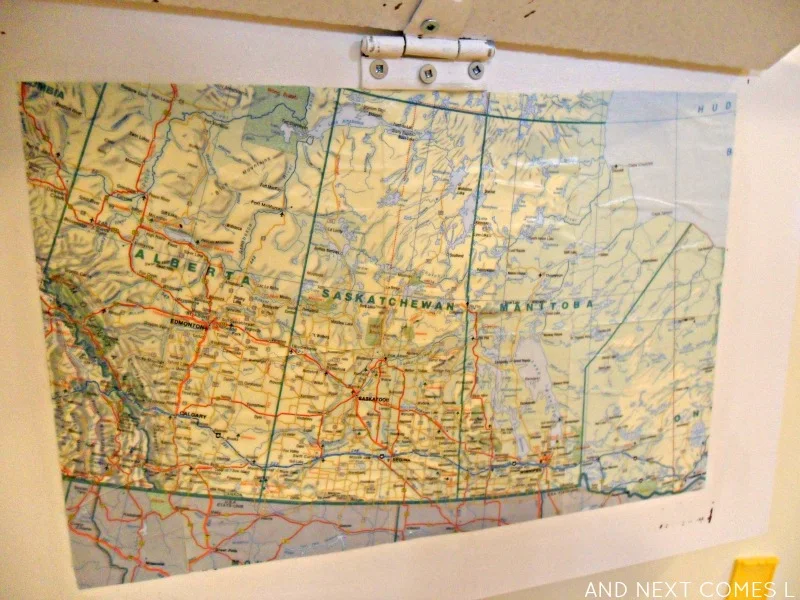
On the right side of the dashboard is the glove box or in our case, the glove flap. Lift up the door to reveal an old map of the Canadian prairies mod podged to the dashboard. Again, the door was made with recycled wood and the hinge is one that we had on hand. I wish that we had two hinges so that the door would open better, but alas, we had one, so we used one. The cool thing about this part is that within two days, K not only learned the name of where we live, but can point it out on the map. He also tries to point out where my parents live, but points to the wrong area. Ah well, he's only just turned 2!
Between the lights, we mounted a mirror. This mirror caused many problems. It was originally hung as a rear view mirror closer to the stereo by mounting it through the handle. However, J was admiring himself in the mirror and pulling on it. Needless to say, the handle snapped off and he smacked himself in the face with the mirror. So we looked for a new way to hang it. We popped out the mirror, screwed the plastic backing to the board, popped the mirror back in, and voila! Okay, not voila because the mirror ended up cracking while my husband put it back in. Nothing a bit of clear tape didn't fix!
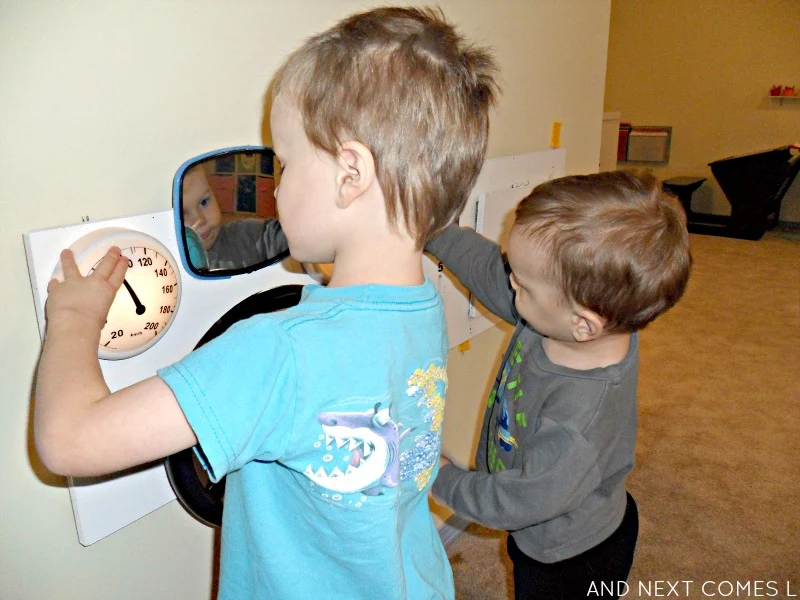
We mounted the newly painted steering wheel below the mirror. Just behind the steering wheel is a small odometer made from black vinyl (you can sort of see it in the picture above). The numbers on the odometer are 0102013, which stands for the month and year it was made.
Here's an overview of the dashboard when the lights are on.
And here's a picture of the boys enjoying their new "car."


